Introduction
Warning: Installing a 997tt spark plug is not an easy job - it is very tedious - even for a skilled mechanic. This job requires contorting your hands into very confining spaces. It is almost impossible to wear gloves, especially when you’re involved in the intricate details of this project.
Photo Credit: eclou - 6speedonline
-
-
Note: Removing the turbos will make this job a lot easier and faster.
-
Jack up rear of car and remove wheels. Remove rear wheel liners.
-
Remove tail lamps.
-
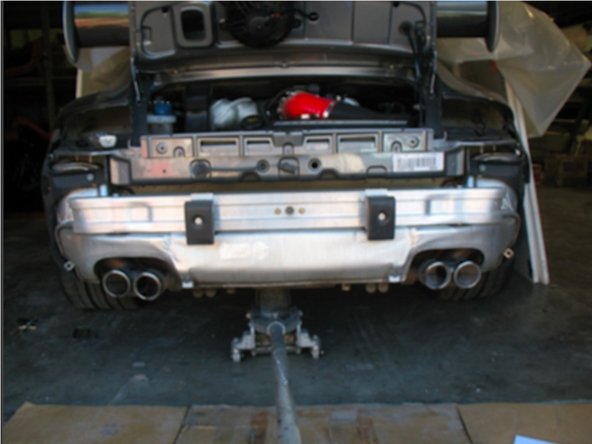
Remove rear bumper.
-
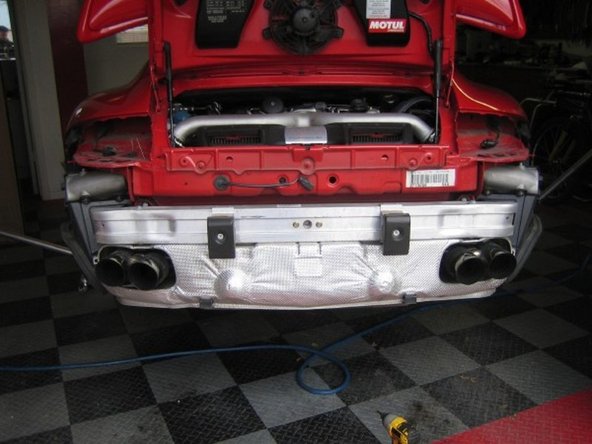
Remove intercoolers. Bend up the heat shields out of the way.
-
-
-
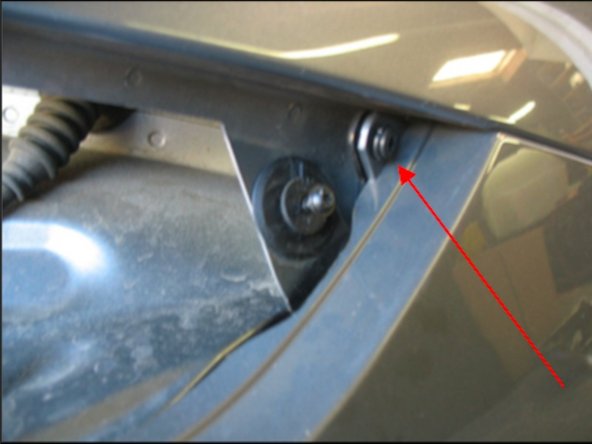
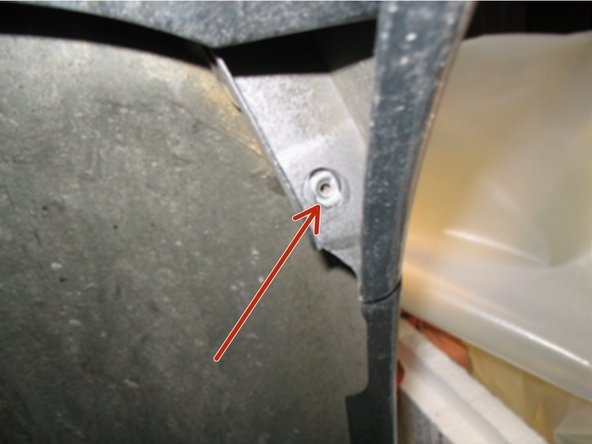
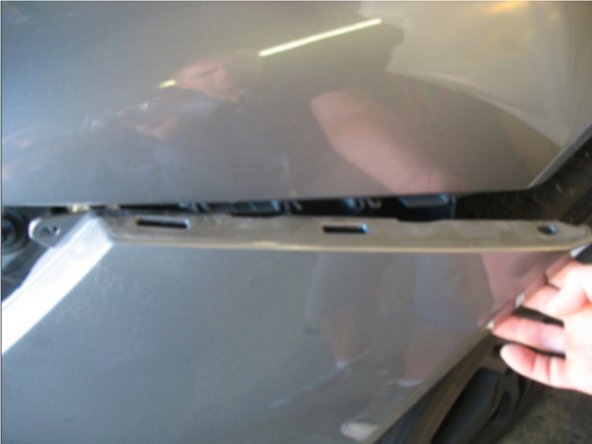
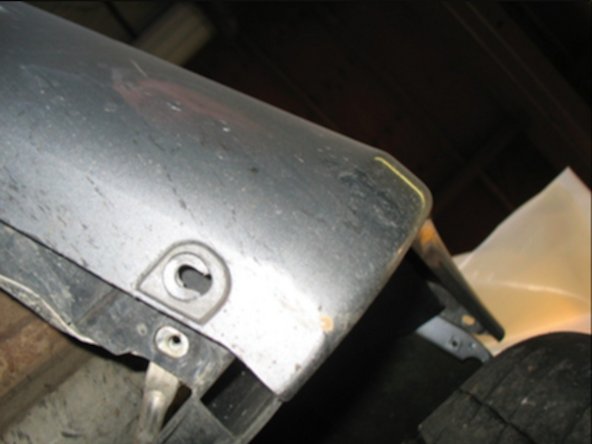
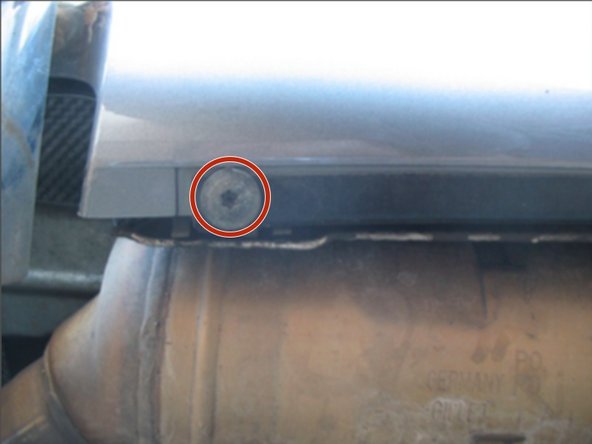
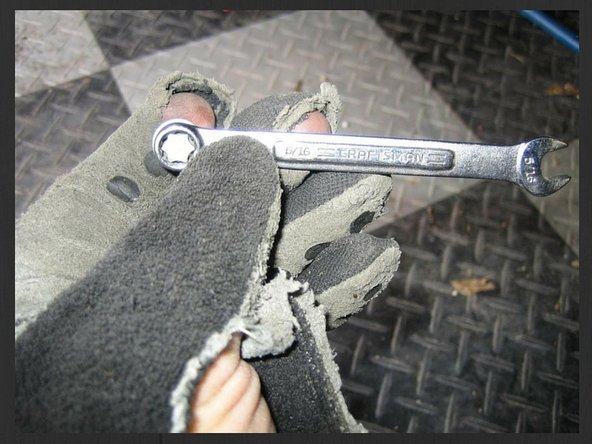
Remove heat shield - the following is for the passenger side plugs. The forward torx bolt can be removed with a 5/16" combo wrench working from underneath.
-
-
-
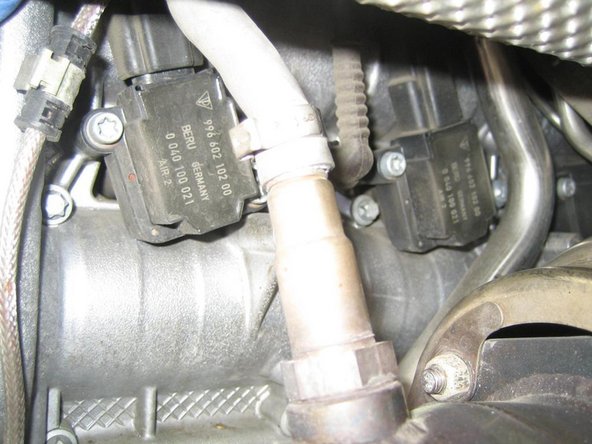
The coil packs should be visible now. Push the rubber boots up to allow the clip to be undone, then you can unbolt the coilpack and remove it. The rear 2 spark plugs can be removed now with long extensions. A wobble extension on the spark plug socket is recommended.
-
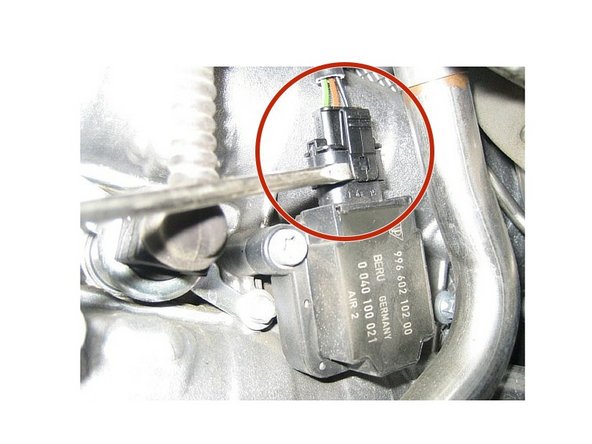
Carefully Pry connectors off with small flat head screw driver
-
-
-
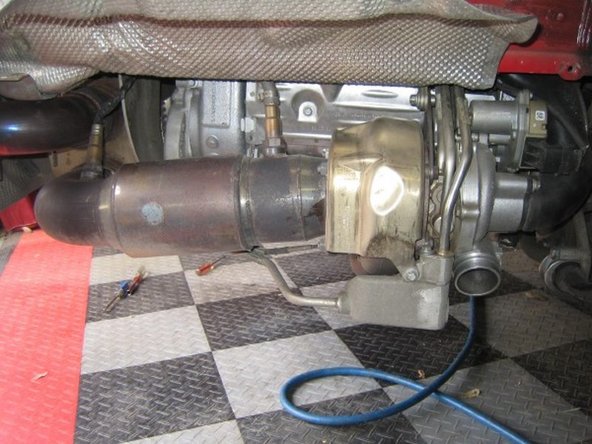
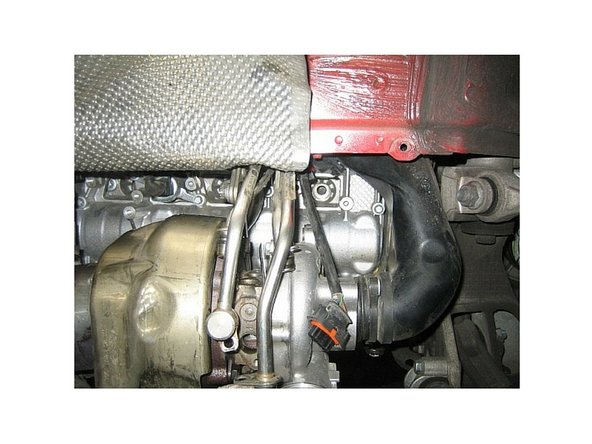
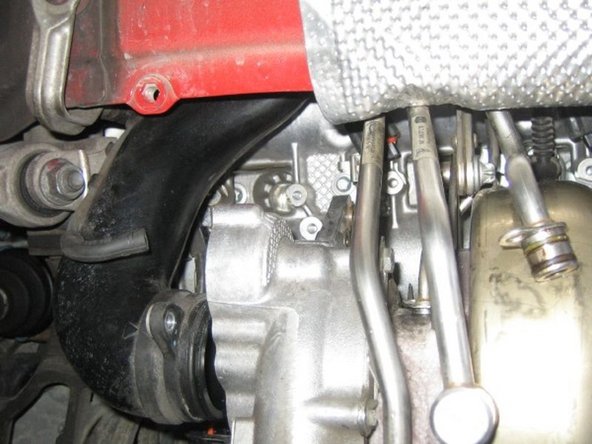
The forward plug looks impossible to get to. To R&R without removing the turbo requires - unbolting and moving the 2 oil lines and 2 coolant lines to the turbo.
-
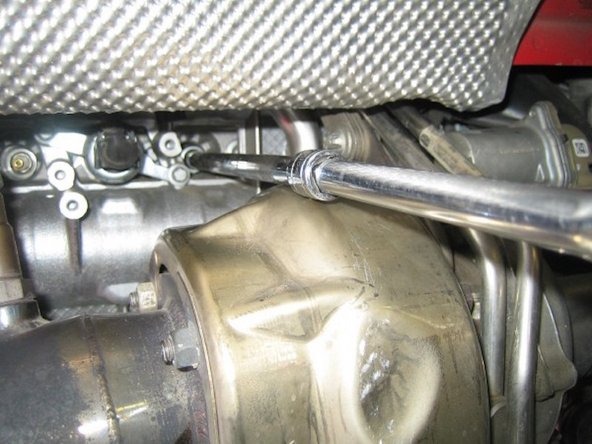
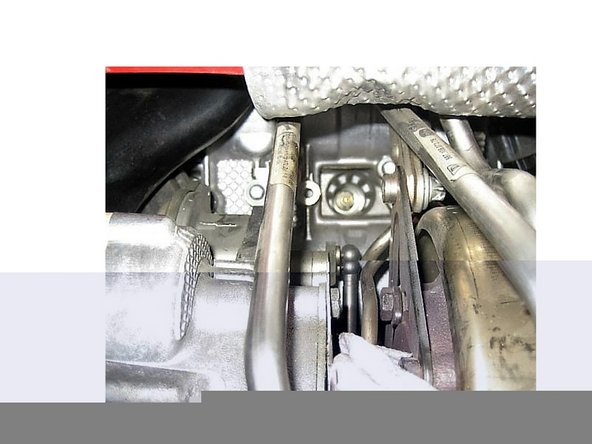
Push these out of the way best you can. You now have to unbolt the 3x 5mm allen bolts holding the VTG controller from the turbo. You can pop-off the actuator arm to ease it some, but this part really sucks. The task requires some real contortion. Try to break the bolts first with a 5mm allen key socket or allen key, then go to the ball ended key.
-
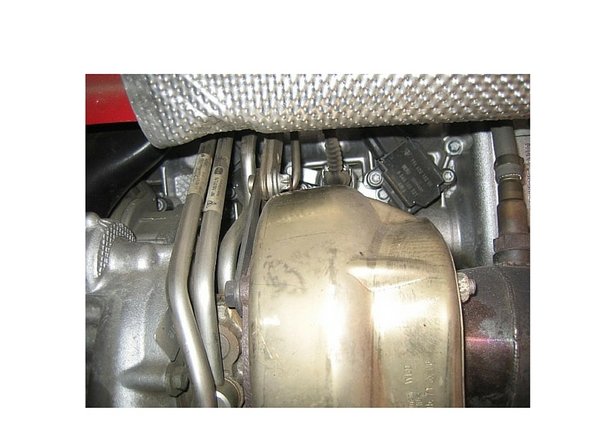
Loosen the compressor inlet duct to help remove the VTG unit, then you can get to the coilpack and spark plug.
-
-
-
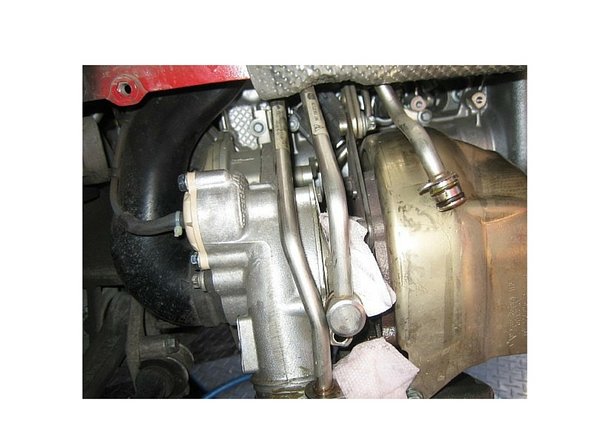
The driver's side is no less difficult. The rear plug is relatively easy. The middle one requires the removal of the cooling lines to the turbo and the VTG unit.
-
-
-
Remove the diverter valve then loosen the compressor inlet duct. Removing the diverter give you just enough room to wriggle the coil pack out and to change the plug.
-
-
-
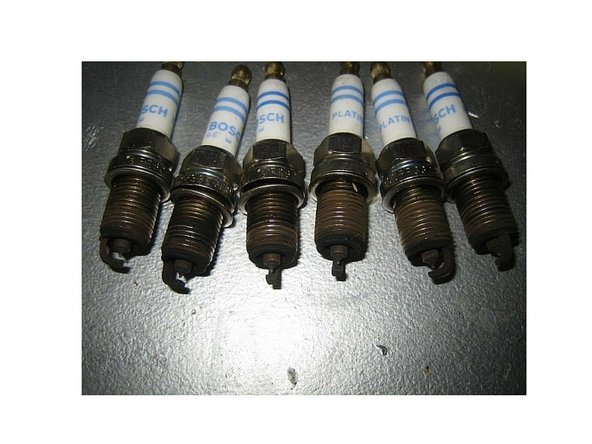
This car has 16k miles on it, and it pumped to stage 2 at 2k miles and 700 kit at 8k miles. There were no issues with the car until recently. It had not been driven more than once a week, and there was a slight surging of the throttle when going from 1st to second under very light throttle.
-
Looking at the tips, we noticed that the insulator is shorter than stock, and the electrode is a fine tip similar to stock. Our old plugs were showing some wear, with about 8mm gap in the plugs. Stock recommendation is about 7mm so there was definitely compromise there.
-