Introduction
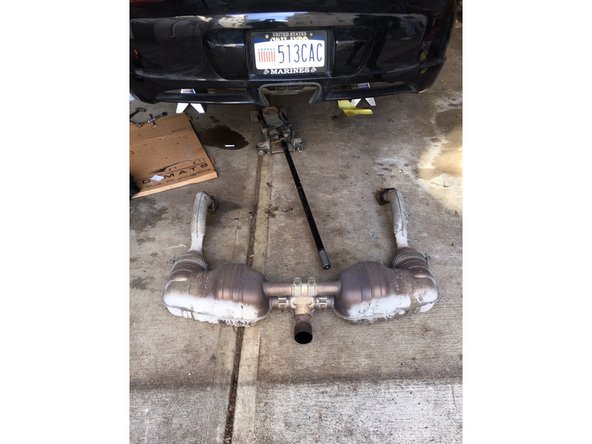
This guides shows a detailed installation of a Fabspeed 987.1 Maxflow Exhaust System
-
-
Using one of the REAR factory jack points. Jack up vehicle and place a jack stand under the front jack points.
-
Carefully position the jack stand to correctly contact that jack point of the vehicle
-
Repeat this procedure on opposite side of vehicle.
-
The Porsche Factory jack points are designed for pin top style jack pads. While a normal jack will work, the pin top ones are the safest to use and safest for the vehicle.
-
-
-
Using a low profile jack, center the jack directly in front of the engine and using chassis cross member, lift vehicle and place jack stands on rear jack points.
-
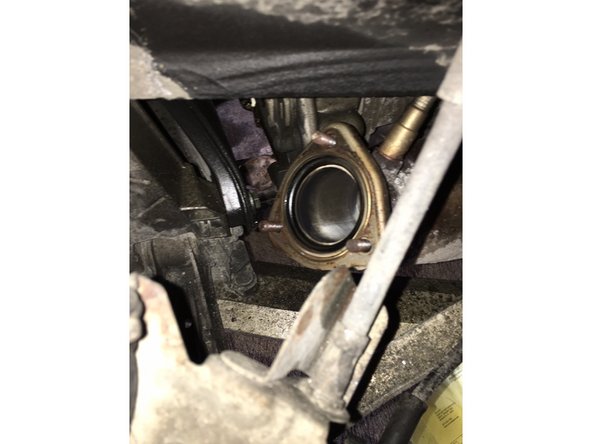
Photo #1 is 991 Cross Member
-
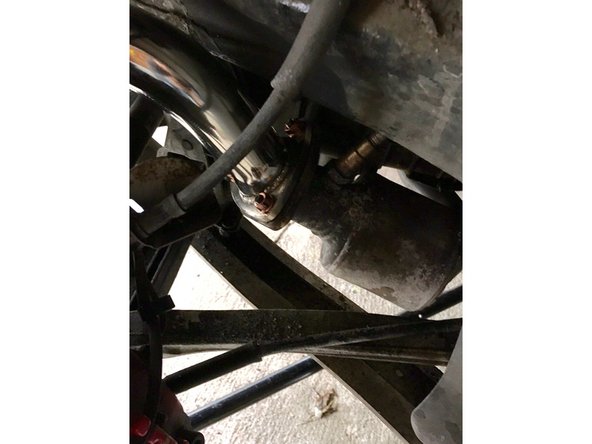
Photo #2 is 997.2 Cross Member
-
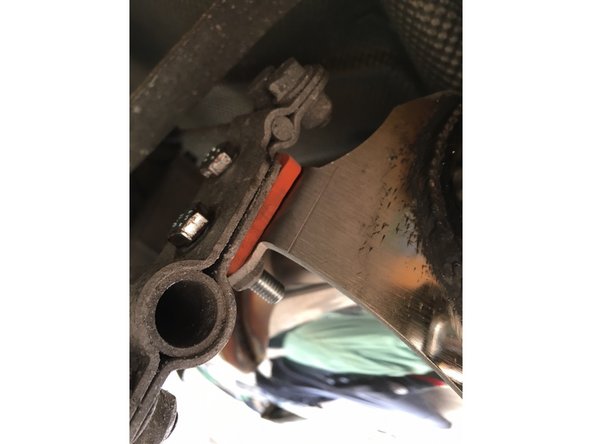
Photo 3 Shows a Cayman/Boxster rear jack point with optional jacking block.
-
-
-
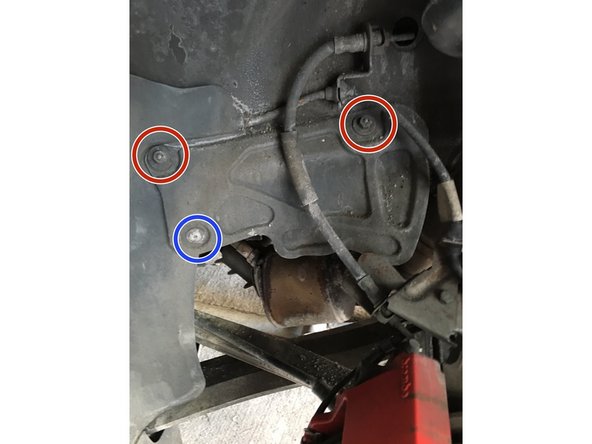
Remove the Driver and Pass side plastic shields to gain access to the exhaust flange bolts
-
10MM Plastic Nuts
-
T-25 Torx Screw
-
-
-
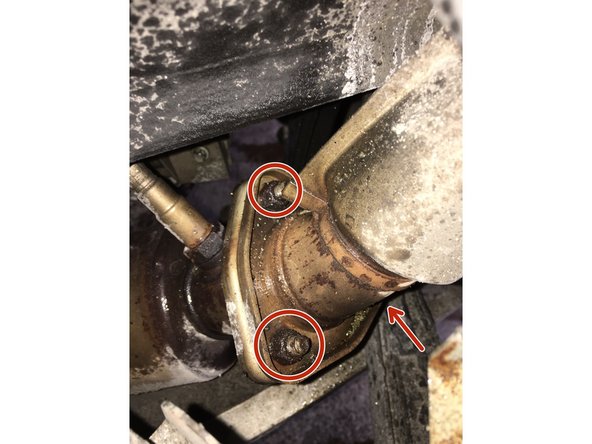
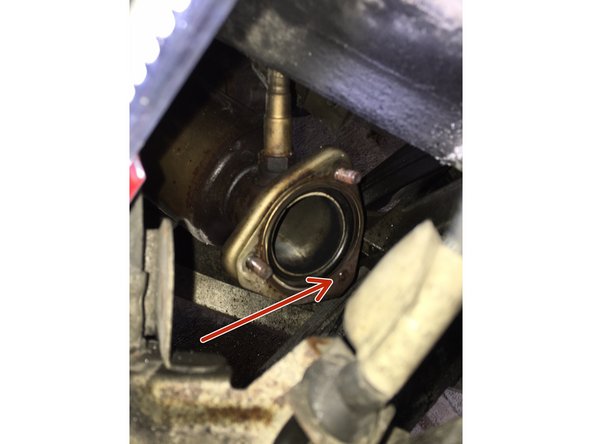
Expect Extensive Corrosion! Soak everything in a penetrating oil like PB Blaster for atleast 15-30 min ... We will address at a later step how to remove any broken studs.
-
The Drive side offers easier access to the flange nuts
-
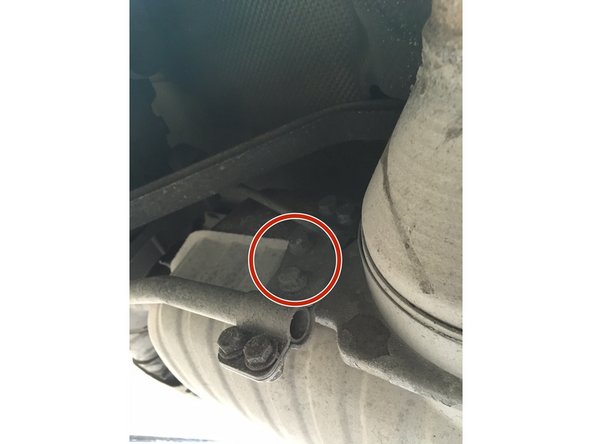
13mm Nut
-
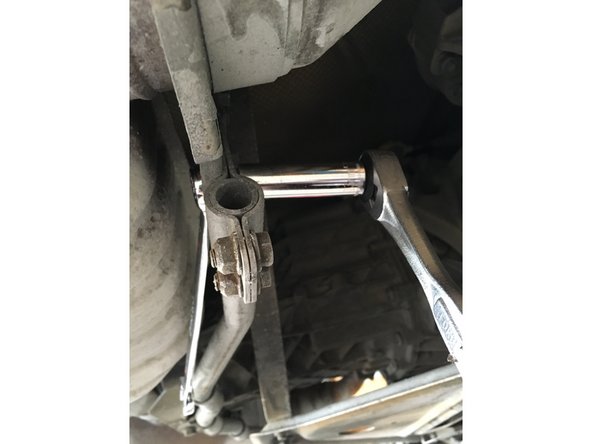
Using a combination of universal joint sockets and open ended 13mm wrenches... when loosening the nuts, take extreme care to not snap the studs off. Avoid putting a side load on the bolts.
-
-
-
Apply heat using a MAPP Torch to the flange
-
Try and concentrate the heat on the flange to help it expand.
-
After around 30 seconds of heat, use a punch and hammer to knock broken stud out
-
Remove Gasket Before starting this
-
-
-
Use new 13mm nuts when mounting the exhaust pipes to flange
-
Fabspeed Supplied replacement nuts for this application
-
Tighten to 17ft/lb
-
-
-
Photo shows Fabspeed supplied rubber gasket
-
One Comment
Thanks man. Excellent photos and great step-by-step instructions. Dummy proof.
Miranda Hall - Resolved on Release Reply



Hydraulic Tank Jacking Equipment exporter
asthagroup - Resolved on Release Reply