Introduction
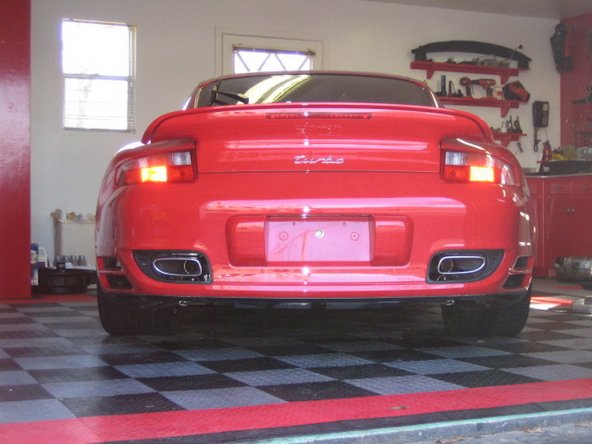
Discover Porsche 911 997.1 Turbo AWE exhaust installation.
Summary & Impressions
1)at idle, much deeper and a slight growl. Very reminscent of a 993 with motorsound
2)throttle response is sharpened tremendously, especially in non-sport mode. The motor responsiveness now is closer to the sport level
3)MORE BOOST!!!! I saw at least a couple more # of boost in non-sport, perhaps another # peak in sport mode. Difference is also that the boost hits earlier (2-300 rpm) and the peak is wider than before. Imagine it as "Sport II"
4)very little to no resonance at cruising speeds
If I had to summarize the nature of the AWE exhaust, I would say it is the way the car should have come. It is not a whole lot louder than stock, and it has more of a menacing tone than the "Dyson". You would not be embarrassed at all driving this into a church parking lot. It truly adds some much needed character to the powertrain. It still won't enthrall the way a Gallardo does but the disappointment is surely gone. It takes the tt from a 3/10 to about a 7.5/10 in terms of exhaust.
Problem Areas
I did have one stud at the turbine housing break and had to:
1)attempt drilling it for an easy-out
2)broke easy out off inside the broken stud
3)broke 3 drill bits trying to drill out the easy out
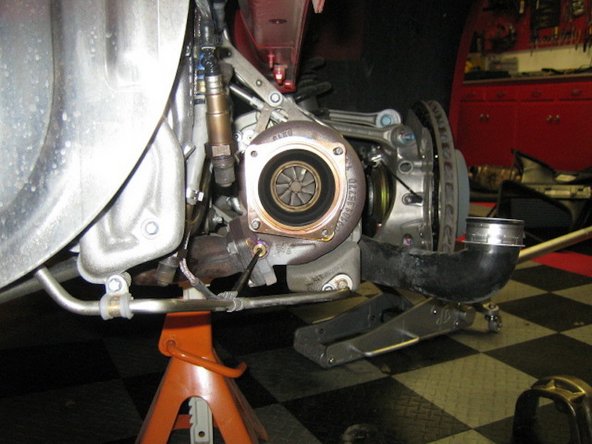
4)removed the turbo - 5 oil and water lines to remove, 1 vacuum line, 1 bracket, 3 more troublesome nuts at the header flange, 1 air inlet hose
5)took turbocharger to specialty welder, who built up a nub using a TIG welder to the broken stud, then torqued it out with a vice grip and then chased the threads. Took him all of 2 minutes. This guy is my new "favorite person"!!
6)re-installed the turbo
7)re-installed the exhaust
Tools
- Low Profile Jack
- JackPad
- Jack Stands
- Nitrile Disposable Gloves
- 3/8" Extension Set
- 3/8" Ratchet
- Torx Socket Set
- Obstruction Box Wrench Set - Metric
- 3/8" Long Wobble Extension
- Oxygen Sensor Offset Puller
- 13mm Ratcheting Combination Wrench
- Allen Socket Set
- 10mm Deep Socket
- 11mm Deep Socket
- 13mm Deep Socket
- PB Blaster Penetrating Oil
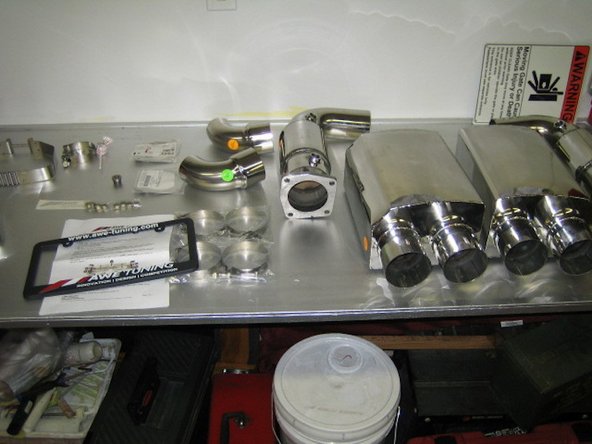
Parts
-
-
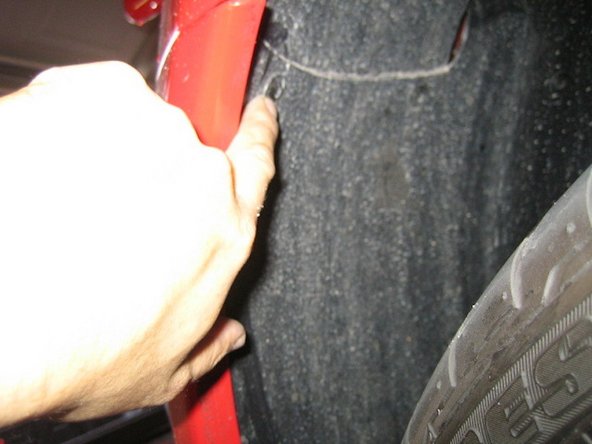
Using one of the REAR factory jack points. Jack up vehicle and place a jack stand under the front jack points.
-
Carefully position the jack stand to correctly contact that jack point of the vehicle
-
Repeat this procedure on opposite side of vehicle.
-
The Porsche Factory jack points are designed for pin top style jack pads. While a normal jack will work, the pin top ones are the safest to use and safest for the vehicle.
-
-
-
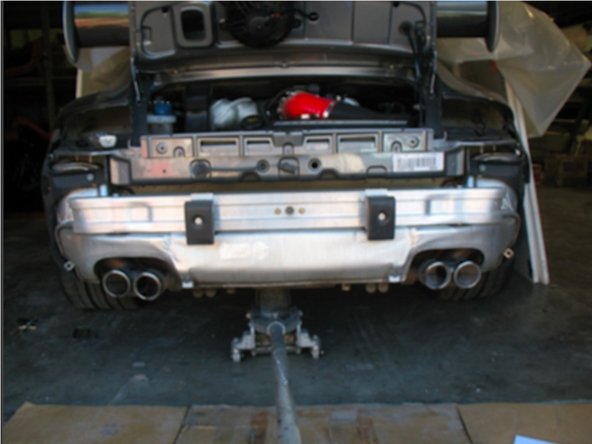
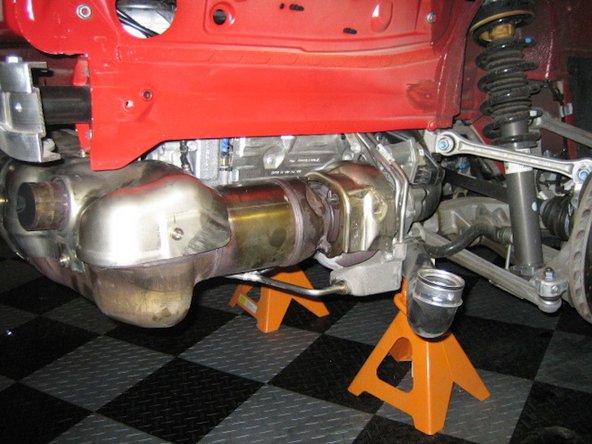
Using a low profile jack, center the jack directly in front of the engine and using chassis cross member, lift vehicle and place jack stands on rear jack points.
-
Photo #1 is 991 Cross Member
-
Photo #2 is 997.2 Cross Member
-
Photo 3 Shows a Cayman/Boxster rear jack point with optional jacking block.
-
-
-
Insert wisdom here.
-
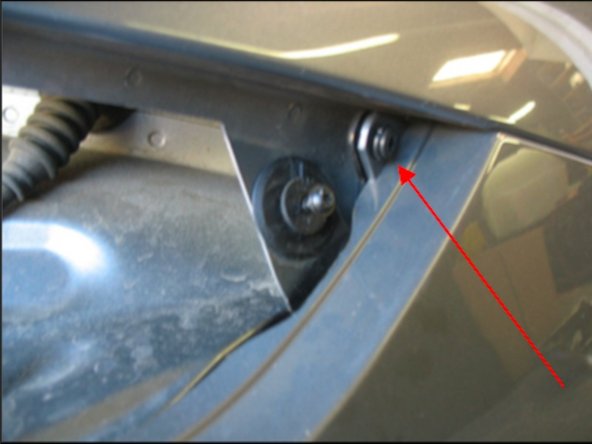
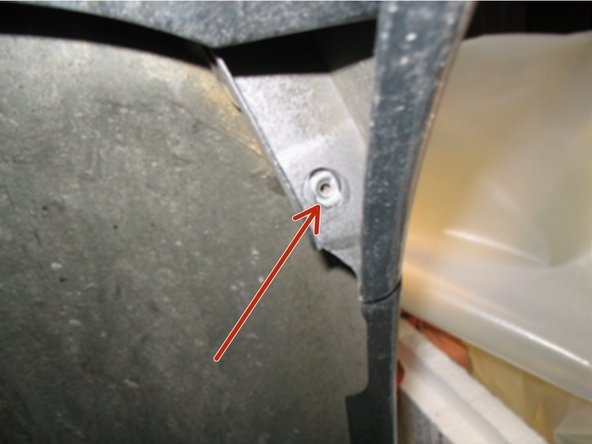
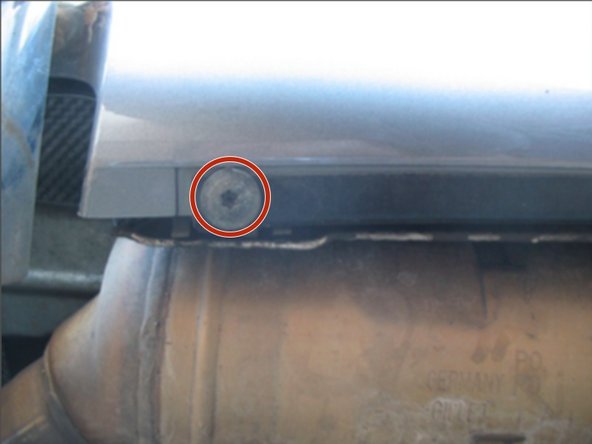
loosen rear muffler clamps and disengage from brackets
-
-
-
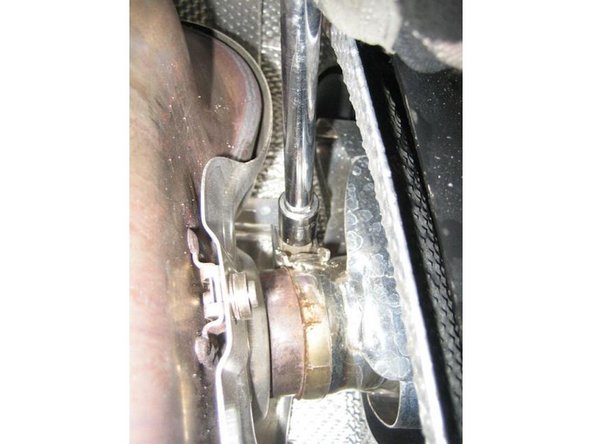
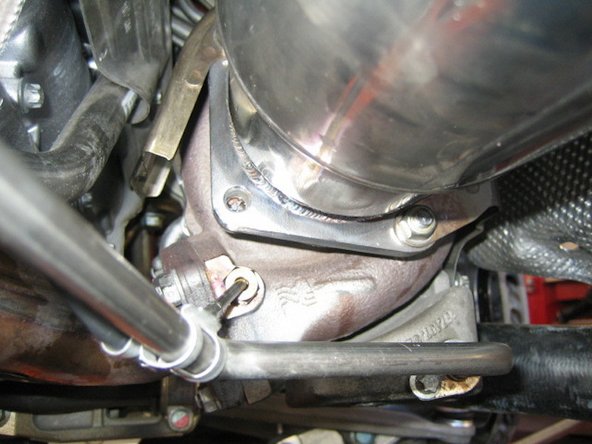
Coat all the exhaust bolts in a penetrating oil such as PB Blaster.
-
Give the penetrating oil time to break up the rust. These bolts are very easy to snap off. I would advise letting it soak for at least an hour.
-
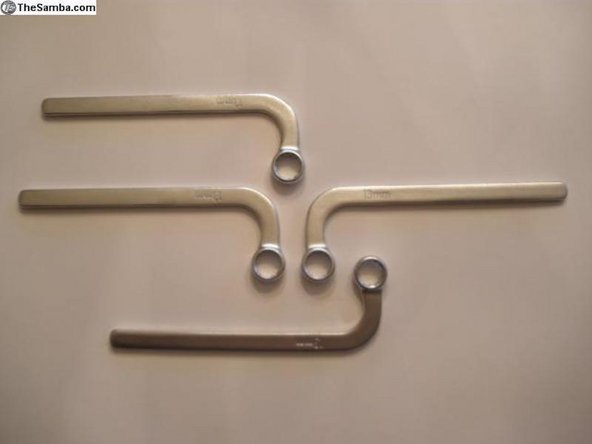
The use of 90 degree open ended wrenches will really help get access to the difficult bolts.
-
-
-
Installation is sort of reverse, but with some tricks.
-
Pre-tighten muffler clamps onto the AWE exhaust (bolts barely are long enough and clamps need to be "shaped" thru tensioning to fit correctly).
-
Then remove clamps and engage them on the exhaust brackets without the exhaust.
-
Install 1 cat (I chose drivers) and then loosely fit the (drivers) muffler to that.
-
Loosely fit the other cat and muffler into place - since everything is a slip-fit, you have to leave some wiggle room to get the next cat and muffler to engage both the turbo studs and the opposite muffer at the same time.
-
-
-
Installation is sort of reverse, but with some tricks.
-
1) Pre-tighten muffler clamps onto the AWE exhaust (bolts barely are long enough and clamps need to be "shaped" thru tensioning to fit correctly).
-
2) Then remove clamps and engage them on the exhaust brackets without the exhaust.
-
3) Install 1 cat (I chose drivers) and then loosely fit the (drivers) muffler to that.
-
4) Loosely fit the other cat and muffler into place - since everything is a slip-fit, you have to leave some wiggle room to get the next cat and muffler to engage both the turbo studs and the opposite muffer at the same time.
-