
Introduction
Tips on Porsche 911 997 Coilover Suspension. Credit: eclou 6speedonline
Parts
No parts specified.
-
-
Using one of the REAR factory jack points. Jack up vehicle and place a jack stand under the front jack points.
-
Carefully position the jack stand to correctly contact that jack point of the vehicle
-
Repeat this procedure on opposite side of vehicle.
-
The Porsche Factory jack points are designed for pin top style jack pads. While a normal jack will work, the pin top ones are the safest to use and safest for the vehicle.
-
-
-
Using a low profile jack, center the jack directly in front of the engine and using chassis cross member, lift vehicle and place jack stands on rear jack points.
-
Photo #1 is 991 Cross Member
-
Photo #2 is 997.2 Cross Member
-
Photo 3 Shows a Cayman/Boxster rear jack point with optional jacking block.
-
-
-
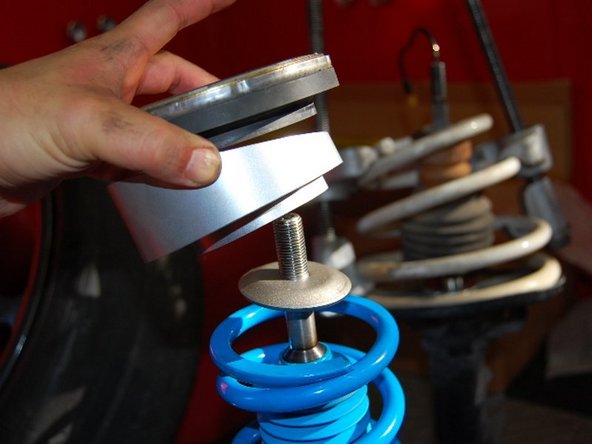
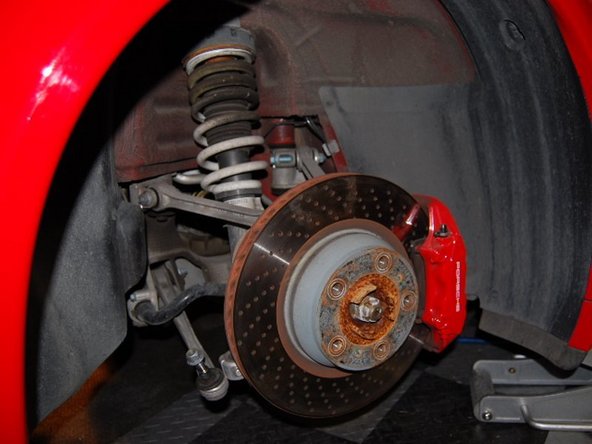
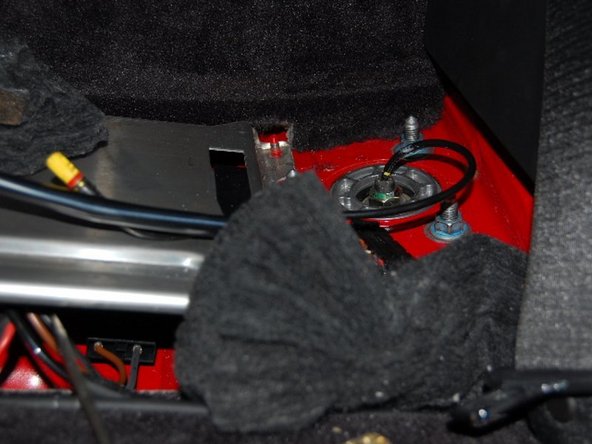
Measure the height of your current ride with Techart springs, and marked the strut hat nuts locations in the front. This will give you an idea of where you would want to set the car.
-
-
-
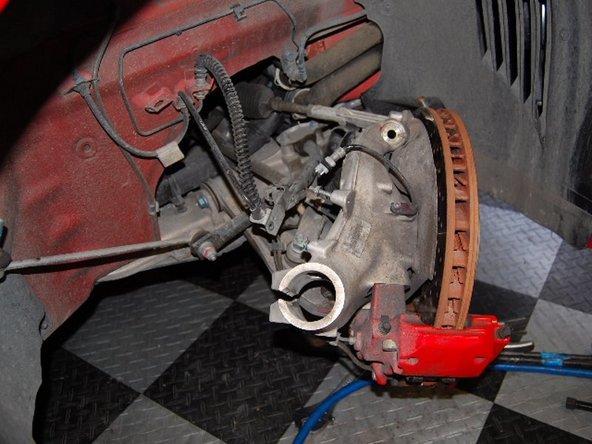
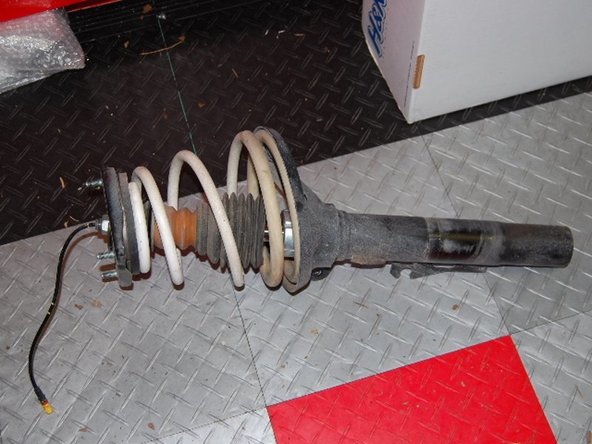
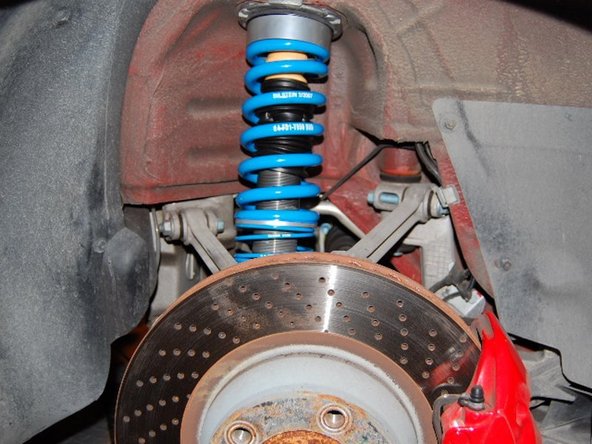
Moved on to the rear, which is a simpler job. Removing the rear strut.
-


Hydraulic Tank Jacking Equipment exporter
asthagroup - Reply