Introduction
Regular maintenance on a 2000-2006 (E46) BMW M3 is very important, but it can also be very expensive at a dealership or certified technician. So why not do some of it yourself? Replacing the air filter in the engine, for instance, is a simple, not too invasive, and low-risk job for anyone looking to save the $100+ that a dealer might charge to do the job.
Tools
Parts
-
-
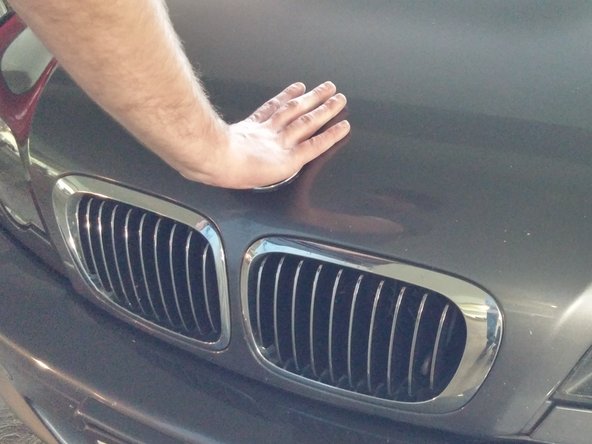
Making sure the vehicle is turned off, open the hood of the car by pulling the hood release lever in the driver's side foot well.
-
Walk around to the front of the car and pull upward on the latch protruding from the grill.
-
Caution: Some engine components may be HOT! Be sure to avoid touching the indicated areas.
-
-
-
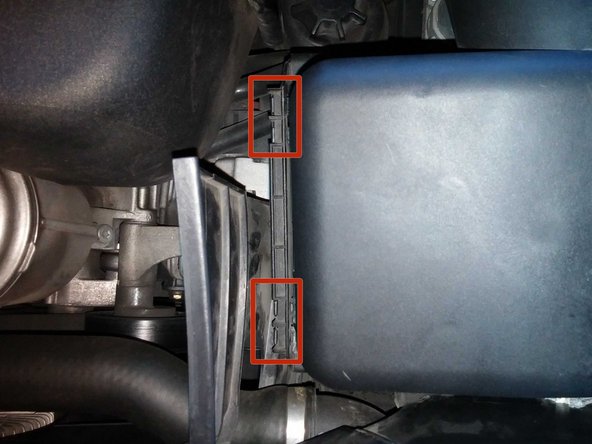
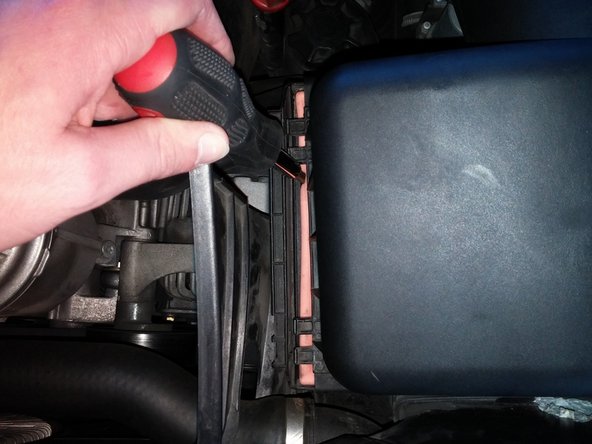
Identify the two metal clips on the left side of the air box. Unhinge these two clips by pressing them to the right.
-
Note: They might be clipped on pretty tight, so it might require some force.
-
-
-
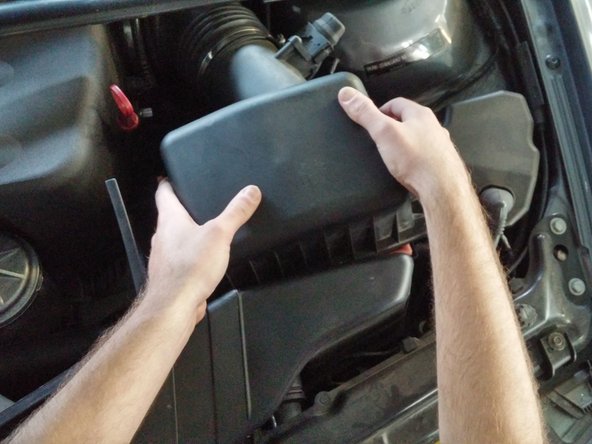
Identify the two plastic clips on the left side of the box. These clips consist of small plastic hooks on the lid hooked into square holes attached to the base.
-
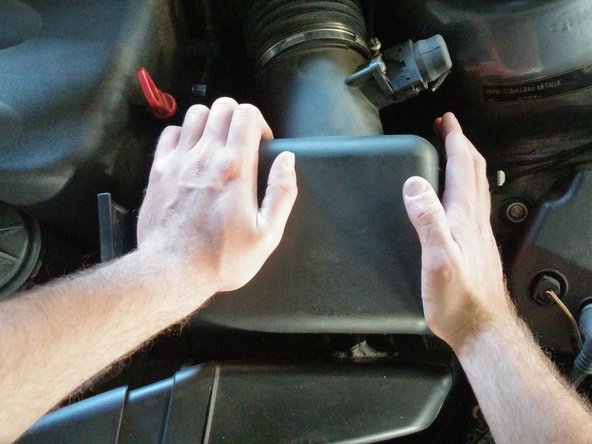
To remove these, press the left side of the lid down and pull up slightly on the right side. While doing this, gently slide the lid to the right.
-
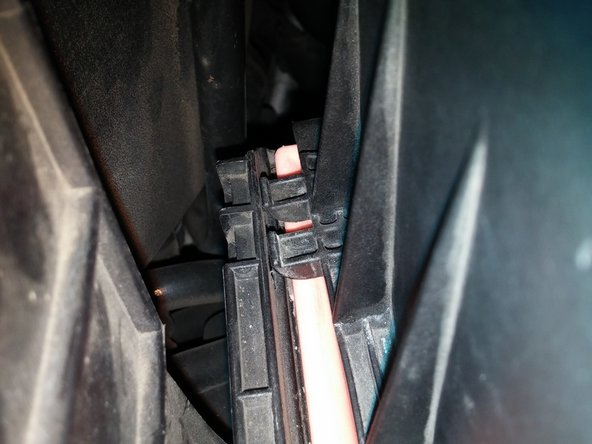
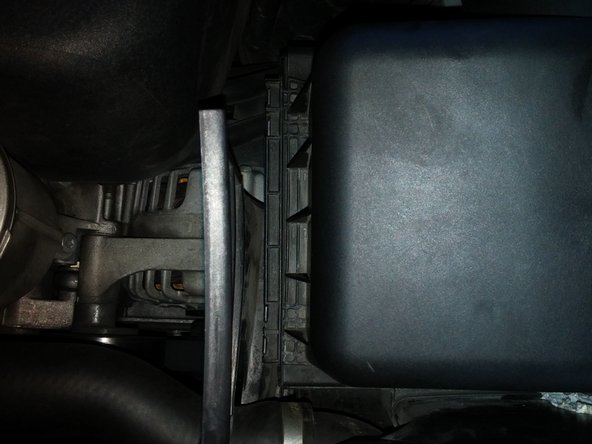
If done correctly, you should now be able to see the rubber gasket of the air filter (most likely it will be bright orange).
-
Caution: Be careful not to lift or bend the lid too much! You will be able to lift the lid up to a certain degree, but remember that it's still attached to the intake and the air flow sensor; putting too much force on either will destroy them.
-
-
-
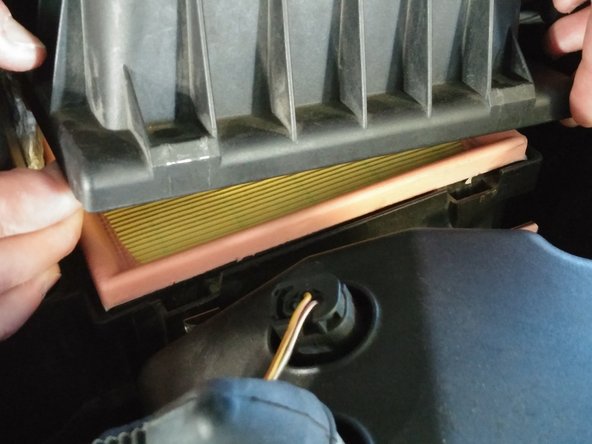
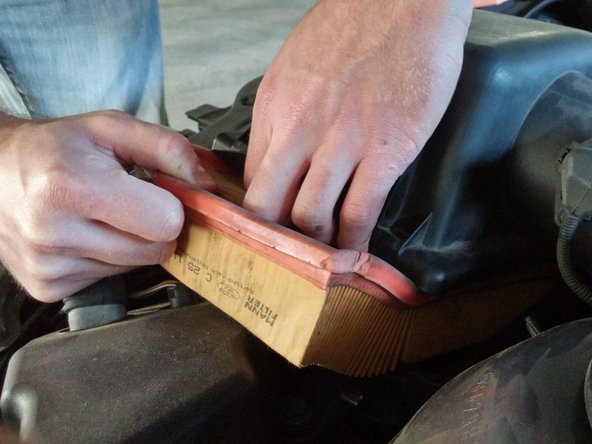
Gently lift the air box lid up on the right side enough to remove the air filter (should be about 3-4 inches).
-
Lift the air filter up by the bright orange gasket. If you have trouble prying it up, you can gently use a flat head screwdriver for help.
-
Slide the air filter out of the box.
-
-
-
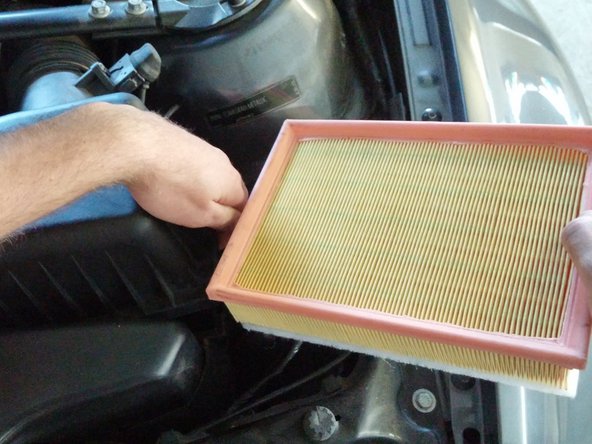
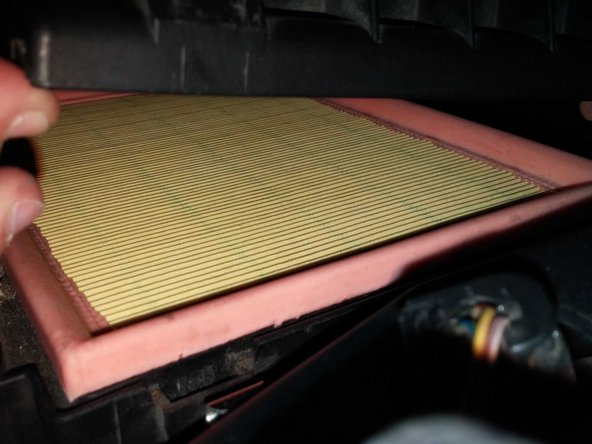
Take the new air filter and, while gently lifting the air box lid, slide the new air filter in until it seats flat inside the box.
-
Attempt to hold the new filter by the orange gasket only; avoid touching the actual filter part as much as possible.
-
You might notice that the new air filter here is slightly different from the one removed, as it has a thin cotton pad along the bottom and the old one does not. Both styles of air filter are acceptable.
-
-
-
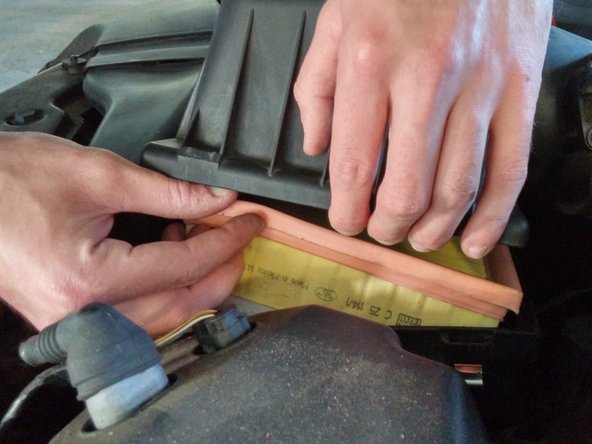
To put the lid back in place, press down on the left side of the lid and pull up slightly on the right side while sliding the hooks back into the holes.
-
This might take some doing, as the new filter's gasket might be slightly larger than the old one, making it difficult to slip the lid back into place. You may need to use the flat head screwdriver to press the gasket under the lid. In the end, if the hooks are in place and the gasket isn't showing, the lid is in place.
-
-
-
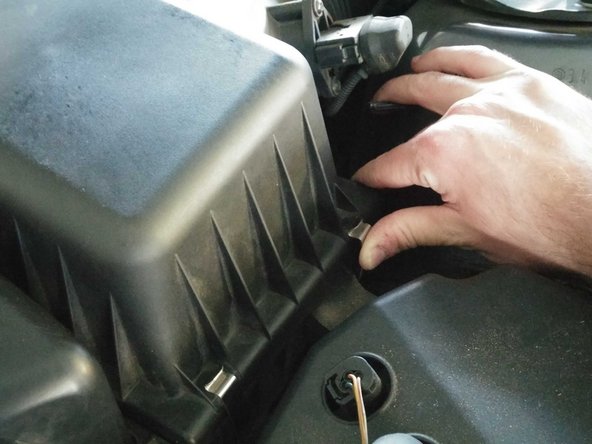
Reattach the metal clips on the right side of the air box.
-
Again, the larger gasket might make this a bit difficult since it's pushing upward on the lid more. Additional force might be required.
-